
Like a lot motorcycle aficionados in the custom scene, I spend a good amount of my time surfing the vast digital landscape of the internet for the latest bespoke and one-off two wheeled machine. While engaging in this seemingly perpetual activity, a thought that frequently pops into my head is, “I could totally do that.” It was that kind of thinking that led me my current personal project: a lean and mean Kawasaki. More specifically, the wiring of a lean and mean Kawasaki.
I have a good amount of experience with tinkering on motorcycles given that I grew up around the scene. Wiring though, is not my forte; and I think it’s safe to say a lot of shade tree mechanics consider themselves in the same boat.
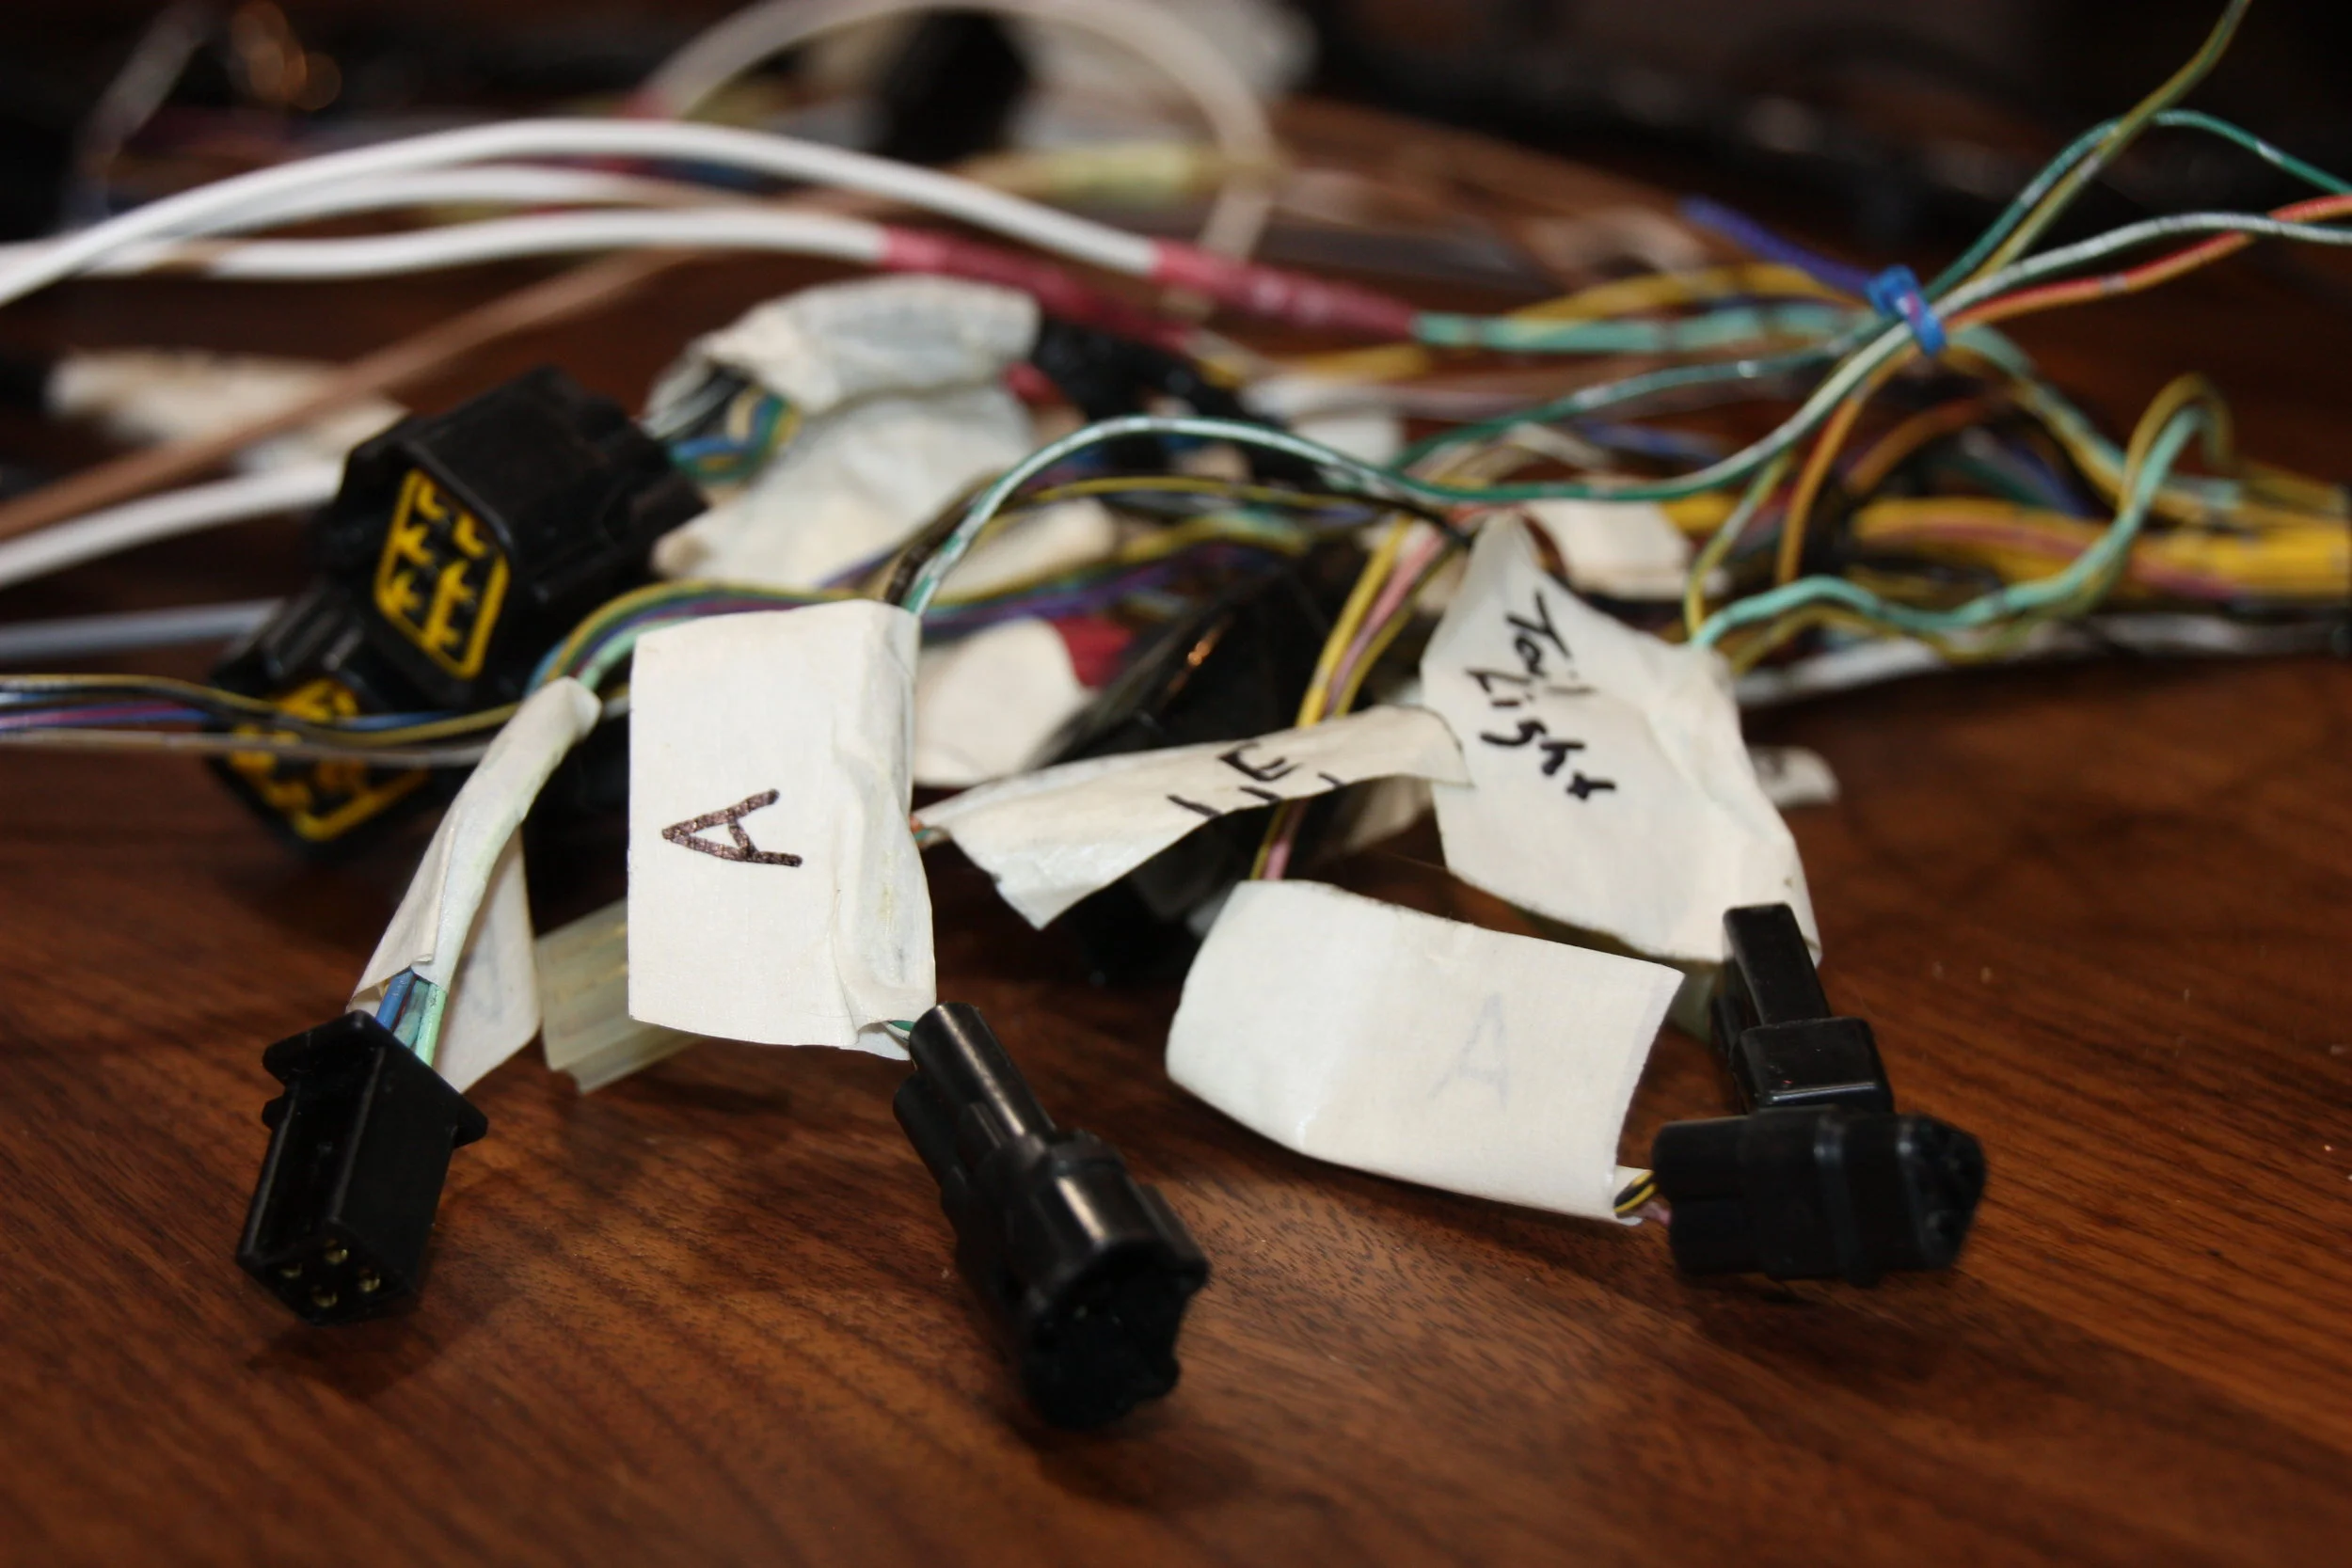
My goal for this portion of the bike was to extend the wiring harness, allowing me to fit up all necessary pieces in a discreet tray that would be nested under the seat of my bike.
The actual process of extending the harness was pretty straightforward. Cut and crimp. That is basically it. Despite being simple in theory, there are some things I think that are extremely beneficial to take into consideration.
Take your time. Patience is key, and for me, this is a problem. Impulse is what gets me into trouble and for this project, I had to restrain myself from just going to town on the harness without due diligence and readily available tools. This saved me a lot of headache.
Label EVERYTHING, and I mean everything. Unless you are an elephant savant, you will forget things. Especially if this is the first time you’ve rewired a system such as one on a motorcycle.
Tearing down a bike can happen extremely fast. It’s fun and easy to do; much easier than building it back up. When your hands start pulling connectors apart and ripping wires faster than you can keep track, we go back to the point about patience. Slow down and take some notes.
Mock it all up. Despite having a limited workspace that isn’t within walking distance of my home, I was fortunate enough to have a removable electronics tray. This allowed me to do most of my work away from the bike. It is a pain, but putting everything together and taking it back apart multiple times will lead to a happier future self. Measure twice, cut once. Again, in my personal experience, patience is huge.
To be honest, I had been planning this article for a while, but didn’t think it would be right to do a write up on how I did some rewiring on a motorcycle until I knew it worked.
After much anticipation, everything was roughly back on the bike. When I say roughly, I mean half the bike was zip ties. I didn’t make it all neat and clean because if issues did arise, I needed to get to the wires. I turned the key and hit the button. Crickets. Not even a click. What a sinking feeling. At this point though the adrenaline was coursing and I persevered.
My troubleshooting led me to the starter relay area, which I shorted out and the bike turned over. Something was not right either coming in or going out. There was one wire I had not spliced back up, I thought it was to the taillight and unnecessary for starting. This was dead wrong. It was 100 percent necessary. Five minutes and four crimps later, there was life.
Don’t panic. Problems will arise, and when they do, it’s better to just take a step back and try to think of what has been left out. In this case, I was lucky, it was a simple oversight and a simple fix. Although I was no stranger to working on motorcycles, I had never tackled the wiring on one. Although this article does not encapsulate all the anxiety and small setbacks that came with this project, it all went fairly smoothly. So when looking at something you think you could do, there is a good chance that you can.